

Table of Contents
- The Fine Line Between Rescue and Ruin
- The “Seven Deadly Sins”: What Not to Do to Antique Furniture
- Understanding the Finish: Shellac, Varnish, or Wax?
- Step-by-Step: How to Refresh Antique Furniture Safely
- The Secret Weapon: The Power of Paste Wax
- When to Call a Professional
- Frequently Asked Questions
The Fine Line Between Rescue and Ruin
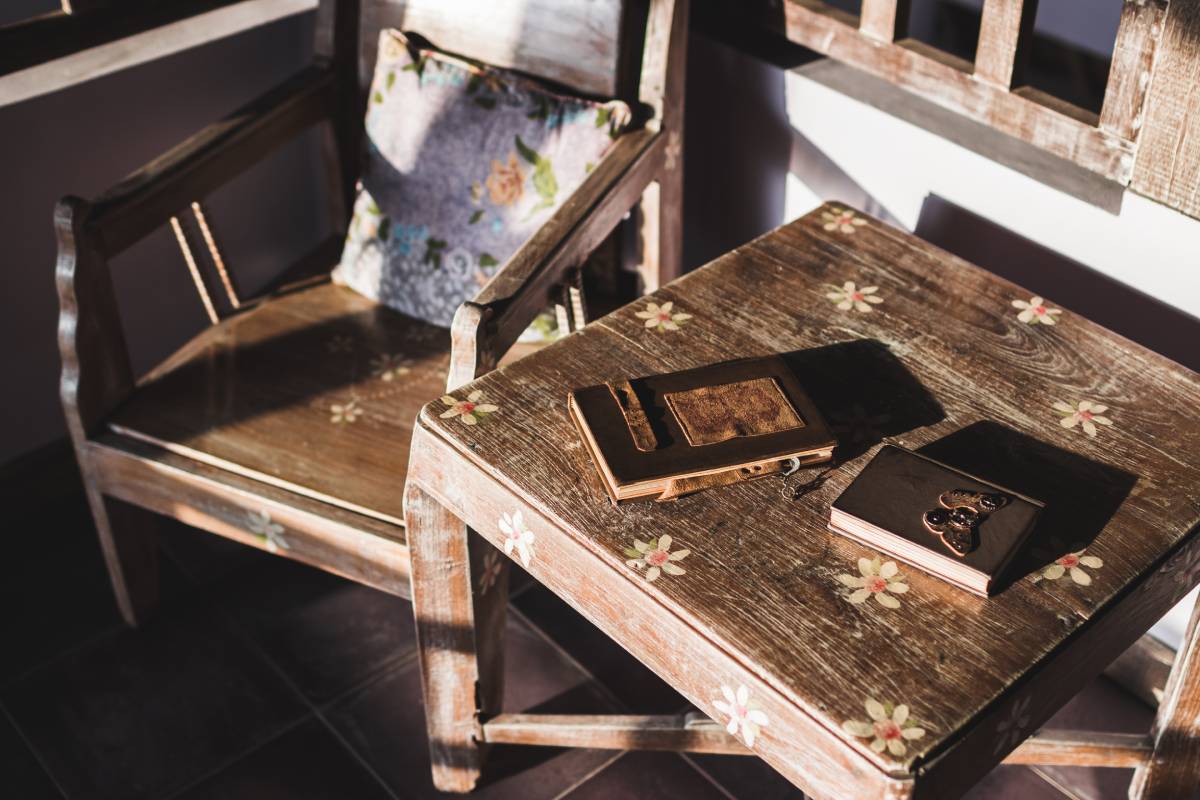
We have all been there. You find a stunning Victorian chest of drawers at an estate sale, or perhaps you inherit your grandmother’s dining table. The wood is dull, there are water rings, and it smells faintly of an attic. The temptation to grab an electric sander and a can of modern polyurethane is overwhelming.
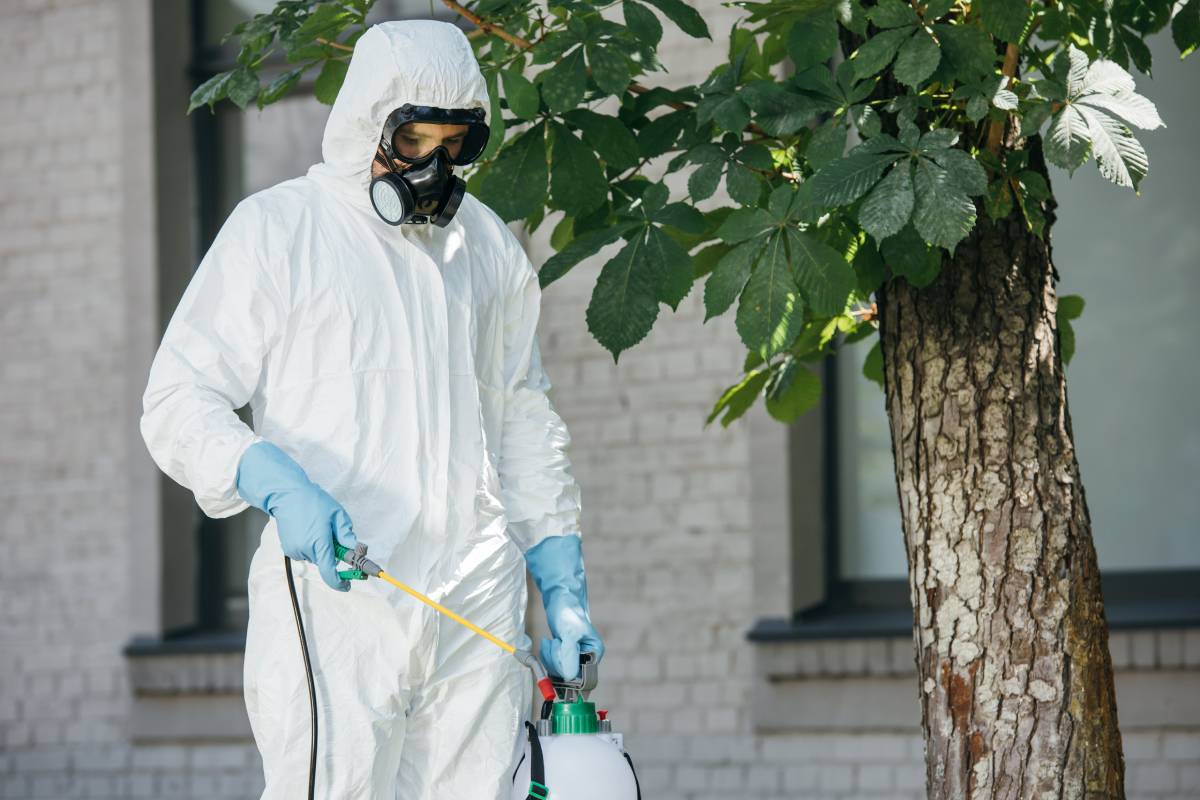
Beyond basic hygiene, pest maintenance is crucial for protecting your physical assets. Wood-boring insects can silently devastate heirlooms, so it is vital to pair professional pest control with proper care—learn exactly what not to do to antique furniture to keep your treasures safe from environmental damage.
Treating an antique like a modern DIY project is the fastest way to destroy its monetary and historical value. The character of an antique lies in its patina—the mellowing of the wood color and the accumulation of tiny scratches and wax over decades.
In this guide, we will explore exactly what not to do and how to gently refresh your piece to bring back its glow without erasing its history.
The “Seven Deadly Sins”: What Not to Do to Antique Furniture
Before we discuss how to fix your furniture, we must establish the boundaries. Avoiding these common mistakes is actually more important than the cleaning process itself.
1. Never Use Silicone-Based Polishes (e.g., Pledge)
This is the most common mistake. Commercial spray polishes often contain silicone. While they create a temporary shine, the silicone seeps into the wood pores. If you ever need to refinish the piece later, that silicone will cause “fish-eyes” (craters) in the new finish, making restoration a nightmare.
2. Do Not “Dip” or Strip Without Cause
“Dipping” involves submerging furniture in a vat of harsh chemical strippers. This dissolves the glue joints, loosens veneers, and bleaches the wood, leaving it looking dry and lifeless. Refinishing should always be a last resort, not a first step.
3. Avoid Modern Polyurethane
Do not coat a 100-year-old table in thick, plastic-looking polyurethane. It traps moisture and looks historically inaccurate. Antiques need to breathe. Stick to historically appropriate finishes like shellac, lacquer, or wax.
4. Don’t Fix “Wobbly” with Nails
If a chair leg is loose, do not drive a nail or screw into it. This cracks the wood and makes a proper repair nearly impossible later. Loose joints require cleaning the old glue and re-clamping with fresh wood glue.
5. Never Bleach the Wood (Unless Necessary)
Household bleach is too harsh for fine antiques. It breaks down wood fibers and creates an unnatural “bone white” color that ruins the warmth of old mahogany, walnut, or oak.
6. Do Not Remove the Patina
That dark accumulation in the crevices of carvings? That isn’t just dirt; it’s depth. Scrubbing a piece until it looks “brand new” makes it look like a cheap reproduction. The goal is a clean antique, not a new table.
7. Avoid Direct Sunlight and Heat Vents
Once you have refreshed the piece, do not place it near a radiator or in direct sunlight. This causes rapid expansion and contraction, leading to warped wood and cracked veneers.

Understanding the Finish: Shellac, Varnish, or Wax?
To refresh furniture effectively, you must identify what is currently on it. Here is a simple test:
- The Alcohol Test: Dampen a cotton swab with denatured alcohol and dab it on an inconspicuous spot (like a back leg).
- If the finish dissolves/becomes sticky: It is Shellac (common on pre-1920s furniture).
- If it does nothing, it is likely Varnish or Lacquer.
- The Turpentine Test: If alcohol fails, try turpentine.
- If the finish dissolves, it is likely Wax.
Knowing this helps you choose the right cleaning agent.
Step-by-Step: How to Refresh Antique Furniture Safely
If your piece is structurally sound but looks tired, follow this conservation-minded process.
Step 1: Gentle Cleaning
You need to remove decades of grime, smoke, and old wax without stripping the finish.
- The Mix: Use a solution of warm water and a small amount of mild dish soap (like Dawn).
- The Method: Dip a soft cloth in the solution and wring it out until it is barely damp. Wipe the surface. Do not let water pool.
- The Dry: Immediately follow with a fresh, dry lint-free cloth.
Step 2: Solvent Cleaning (For Stubborn Grime)
If soap and water aren’t enough, use Mineral Spirits (White Spirit).
- Apply mineral spirits to a cloth and gently wipe the surface. This removes old grease and wax buildup but generally leaves the hard finish (shellac/varnish) intact.
- Note: Always test in a hidden area first.
Step 3: Amalgamation (For Alligatored Finishes)
If the finish looks like lizard skin (cracked and checked), it is likely old shellac.
- You can “refresh” this by brushing on a mixture of 3 parts denatured alcohol to 1 part shellac.
- This re-liquifies the old finish, allowing it to smooth out and re-bond with the wood. This is a professional-level technique that preserves the original finish.
The Secret Weapon: The Power of Paste Wax
If you take only one thing from this article, let it be this: High-quality paste wax is an antique’s best friend.
After cleaning, the wood may look dull. Do not reach for oil; reach for wax. A clear or tinted paste wax (brands like Minwax or Briwax) offers several benefits:
- Protection: It creates a barrier against dust and moisture.
- Shine: It provides a soft, satin luster that looks historically accurate.
- Forgiveness: It fills in minor scratches, making them disappear.
How to Apply:
- Apply a thin coat with a cheesecloth or wax brush.
- Let it dry for 15–20 minutes until it hazes over.
- Buff vigorously with a clean cotton cloth or a shoe-shine brush.
- Repeat once a year.
When to Call a Professional
While refreshing is a great DIY project, some issues require a master restorer. Do not attempt to fix:
- Structural Damage: Broken legs, snapped dowels, or major veneer loss.
- Gold Leaf/Gilding: This is incredibly fragile and can be wiped away with water.
- High-Value Provenance: If the piece is signed, stamped, or worth over $1,000, consult an expert before touching it.
It is vital to find craftsmen who respect the history of the item rather than just stripping it bare. For example, if you are looking for specialized care in Australia, experts like Heritage Restorations and Renovations in Sydney are known for handling complex repairs while preserving the original character of the furniture. Always choose a professional who prioritizes conservation over replacement.
Frequently Asked Questions
Q: Can I use olive oil and vinegar to clean wood?
A: No. While a popular internet “hack,” olive oil does not dry (it goes rancid) and attracts dust, while vinegar is an acid that can damage old finishes. Stick to mineral spirits or paste wax.
Q: How do I remove white water rings?
A: White rings usually mean moisture is trapped in the finish, not the wood. Try placing a dry cotton cloth over the spot and running a clothes iron (on low, no steam) over it for a few seconds. Alternatively, gently buffing with mayonnaise (yes, really!) can draw out the moisture due to its oil content.
Q: Should I paint my antique furniture?
A: From a purist’s perspective, painting irreversibly covers the wood grain and lowers value. However, if the piece is broken, made of low-quality wood, or has no historical significance, painting can save a piece from the landfill. Just never paint mahogany, walnut, or cherry.
Conclusion
Refreshing antique furniture is about stewardship. You are merely the caretaker of the piece for the next generation. By avoiding harsh chemicals and embracing the gentle power of cleaning and waxing, you preserve the story of the furniture while making it shine in your home today. Once your walls are freshly painted, you might notice that your older furnishings start to look a little tired in comparison. Before you rush to replace them or strip them down, read our guide on how to refresh antique furniture to ensure you revitalize your vintage pieces without destroying their history or value.